

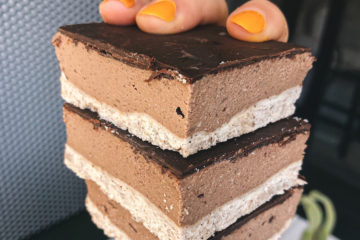
These healthy vegan twix bars contain no refined sugar, fructose or gluten. And are even free of the usual vegan dessert suspects – dates and cashews. And to really drive home the reason why you should always have a batch of these on hand? I snuck in some protein powder, so what may seem like a naughty treat you sneak after dinner is one you can enjoy between meals throughout the day.
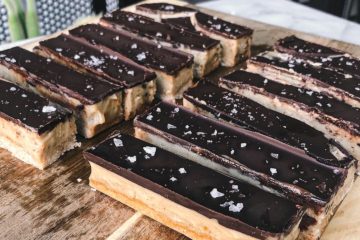
Protein powder, almond flour, coconut flour and oat flour make up the base of these Healthy Twix Bars. Coconut Oil and Brown Rice syrup are added in to create a soft biscuity base, once baked. This helps carry the chewy caramel that sits on top. This caramel also contains a little protein powder, almond butter, brown rice syrup, coconut oil and mesquite powder.
Mesquite powder, is derived from a root that is high in minerals and nutrients. The powder itself, is naturally sweet and results in a nice caramel flavor to anything you add it to. It will make a great addition to the recipe if you can get your hands on it. However, it can be enjoyed without it. So no stress, just omit it from the recipe if you can’t.
These Healthy Twix Bars are:
- Gluten Free
- Dairy Free
- Refined Sugar Free
- Low FODMAP
- High in Protein
- Vegan
If you’re into this recipes you’ll love these:
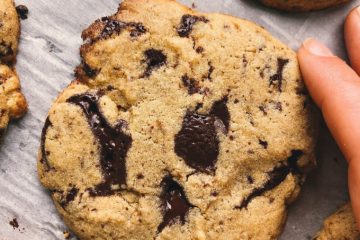
- Twix Bar Copycats
- Healthy Fruit & Nut Chocolate
- Sunbutter Fudge Bars
- No Bake Chocolate Berry Slice
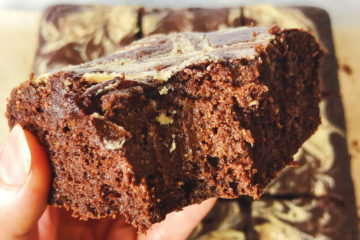
- Flourless Brownie Mousse Cake
The protein powder I used in this recipe, is the Vanilla Protein powder from Aloha. Their protein powder, at 3g per serving is low in sugar, and contains 18g of plant based protein. Not to mention, this protein powder tastes legit like dessert. So it lends itself pretty well to this recipe.
Healthy Twix Bars
Course: DessertCuisine: AmericanDifficulty: Medium16
servings30
minutes20
minutes2 hours 45
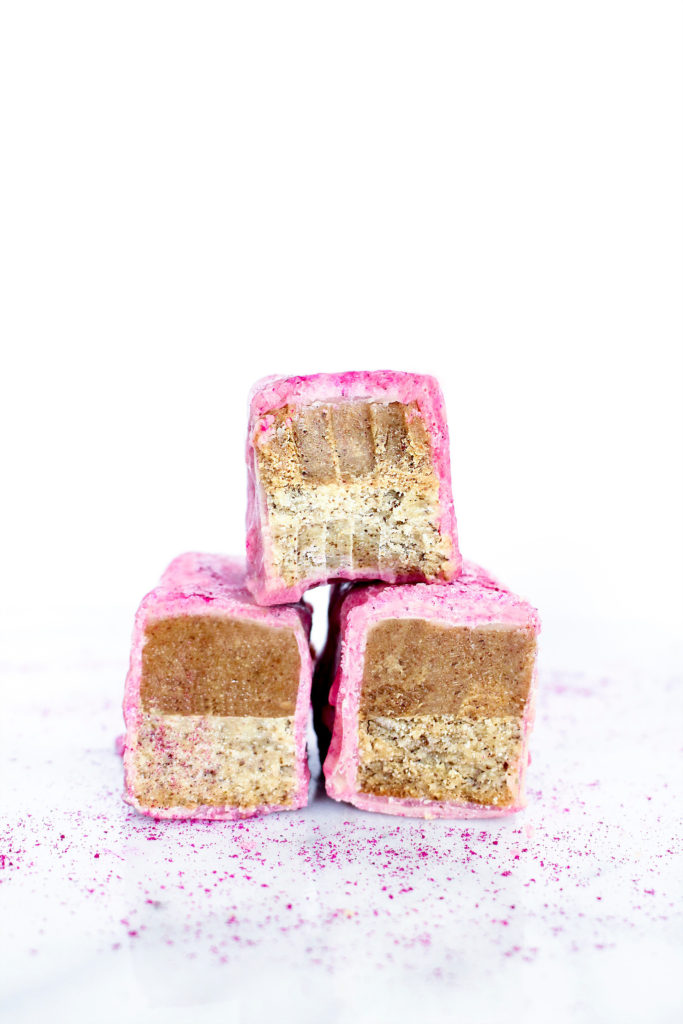
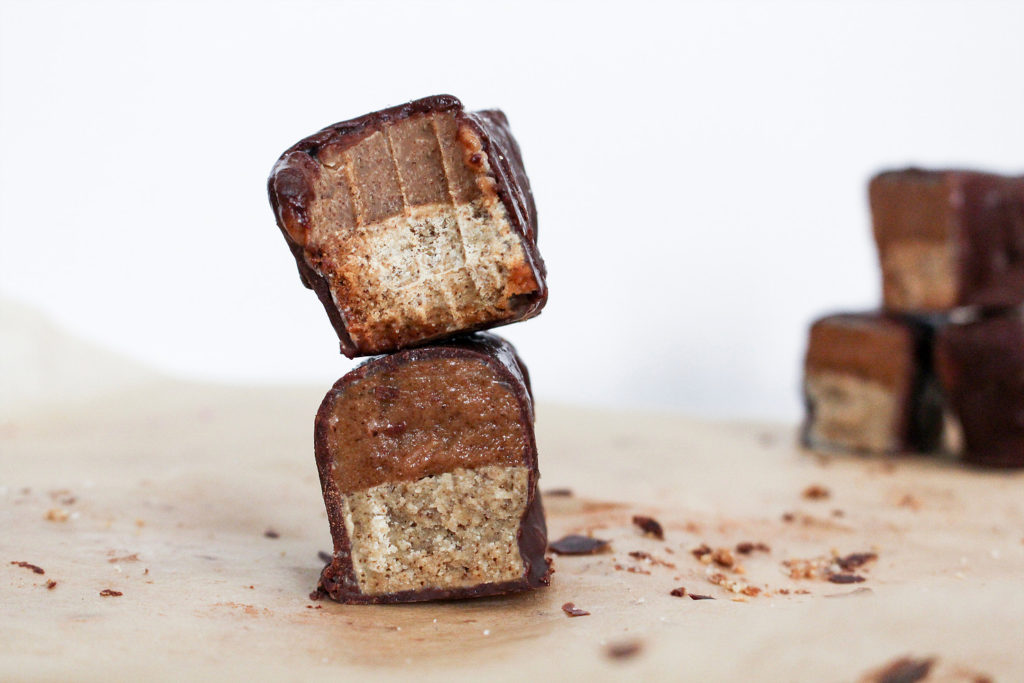
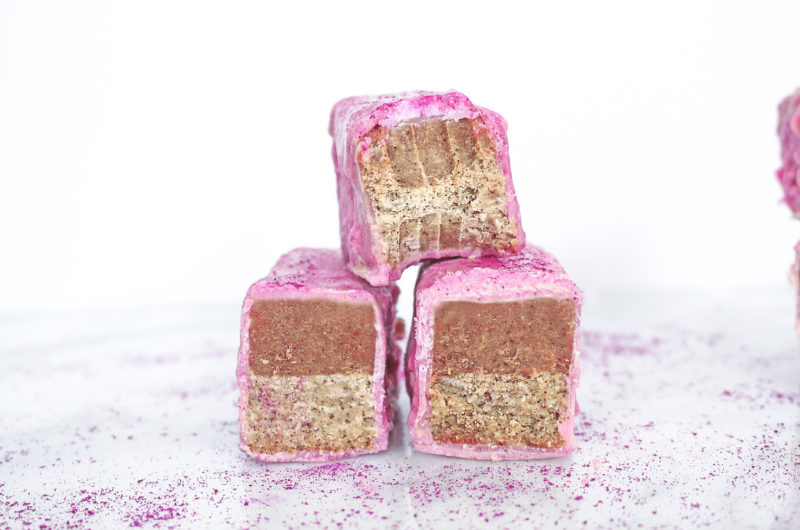
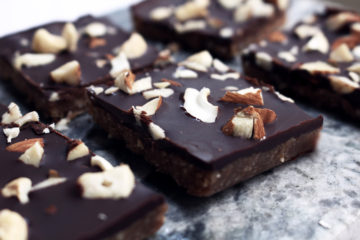
minutesTry out these vegan, gluten free healthy twix bars, 2 ways. One in a natural pink chocolate shell and the other with classic dark chocolate.
Ingredients
- Base
1 cup almond flour
1/4 cup coconut flour
1/4 cup gluten free oat flour
1/3 cup coconut oil, melted
3 tbsp vanilla protein powder
2 1/2 tbsp brown rice syrup
- Caramel
1/2 cup almond butter
1/2 cup brown rice syrup
1/4 cup coconut oil
1 1/2 tbsp vanilla protein powder
1 tbsp mesquite powder, optional
1 tsp salt
- Pink Chocolate
1 cup cacao butter pieces
1/2 tsp dried pitaya powder
4 tbsp brown rice syrup
- Dark Chocolate
1 cup cacao butter pieces
4 tbsp cacao powder
4 tbsp brown rice syrup
1/2 tsp sea salt
Directions
- Preheat oven to 350F, bake. Add all base ingredients to a bowl and mix together well.
- Press into a bread loaf tin, lined with a strip on parchment paper for easy removal later. Bake for 20 mins.
- In a small saucepan, gently heat all your caramel ingredients until they’ve mixed well into each other and you have a smooth rich consistency. Transfer to a glass bowl to cool in the fridge.
- Once base is cooked, remove from the oven and allow to cool. Or place in the fridge for 10 minutes to speed up the cooling time.
- Once base has cooled, pour over your caramel. Ensuring its evenly spread and place in the freezer to solidify. Approximately 2 hours.
- Once its solid to the touch, gently remove from your tin, by pulling at the parchment paper. It should just pop out all in one go.
- Place on a chopping board and carefully cut into 8 even 2cm bars then cut each bar in half.
- Place your bars onto a baking tray lined with parchment paper, allowing enough room between each one and place back in the freezer while you prepare your coating.
- If you’re doing the pink option take your dried pitaya powder and cook it into 2 tbsp water until the powder has dissolved and you have a pink liquid, set aside.
- Place all your chocolate coating ingredients in a double boiler and gently melt down to create a smooth liquid. If using the pink chocolate option, add the pink liquid in here and omit the cacao.
- Remove bowl from the double boiler. Pull your bars out of the freezer and one by one carefully submerge the bars in the coating.
- Good tip here is to use a spoon to pour the liquid on top to coat the bars and then use a fork to remove the bars from the bowl, allowing any excess liquid to drip off before placing back on the parchment paper. Because the bars have come straight from the freezer this will allow the chocolate coating to solidify quicker.
- You will need to do 2 coatings to ensure an even layer for your bars, so in-between each dipping place the bars back in the freezer for 15 -20 mins to allow the coating to completely solidify before dipping again.
- Once dipped the second time, place back in the freezer to set.
Notes
- If you decide to do both colors, just half each of the coating recipes and dip half the bars in the pink chocolate and half in the dark chocolate.
- Can sub brown rice syrup in the recipe for maple syrup or honey.
- Store in a tupperware container in the fridge and enjoy whenever your heart (or sweet tooth) desires.


