
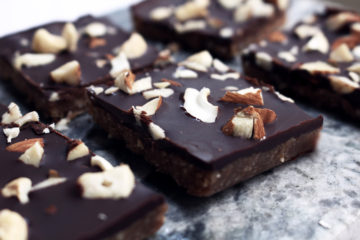
I created this No Bake Chocolate Berry Slice to emulate a treat I used to oggle at the most amazing chocolate store in Melbourne called Pana Chocolate. If you’ve been to Melbourne you’ll surely have heard of this place. If you haven’t, put it on your must visit list and thank me later. I’ve been wanting to recreate a slice similar to those at the Pana Chocolate store for quite some time. And man oh man I wish I had done this sooner. I can safely say this is about to be your new favorite raw dessert creation. This is such a simple recipe, and because it’s mostly raw so there’s no fart-assing around with an oven.
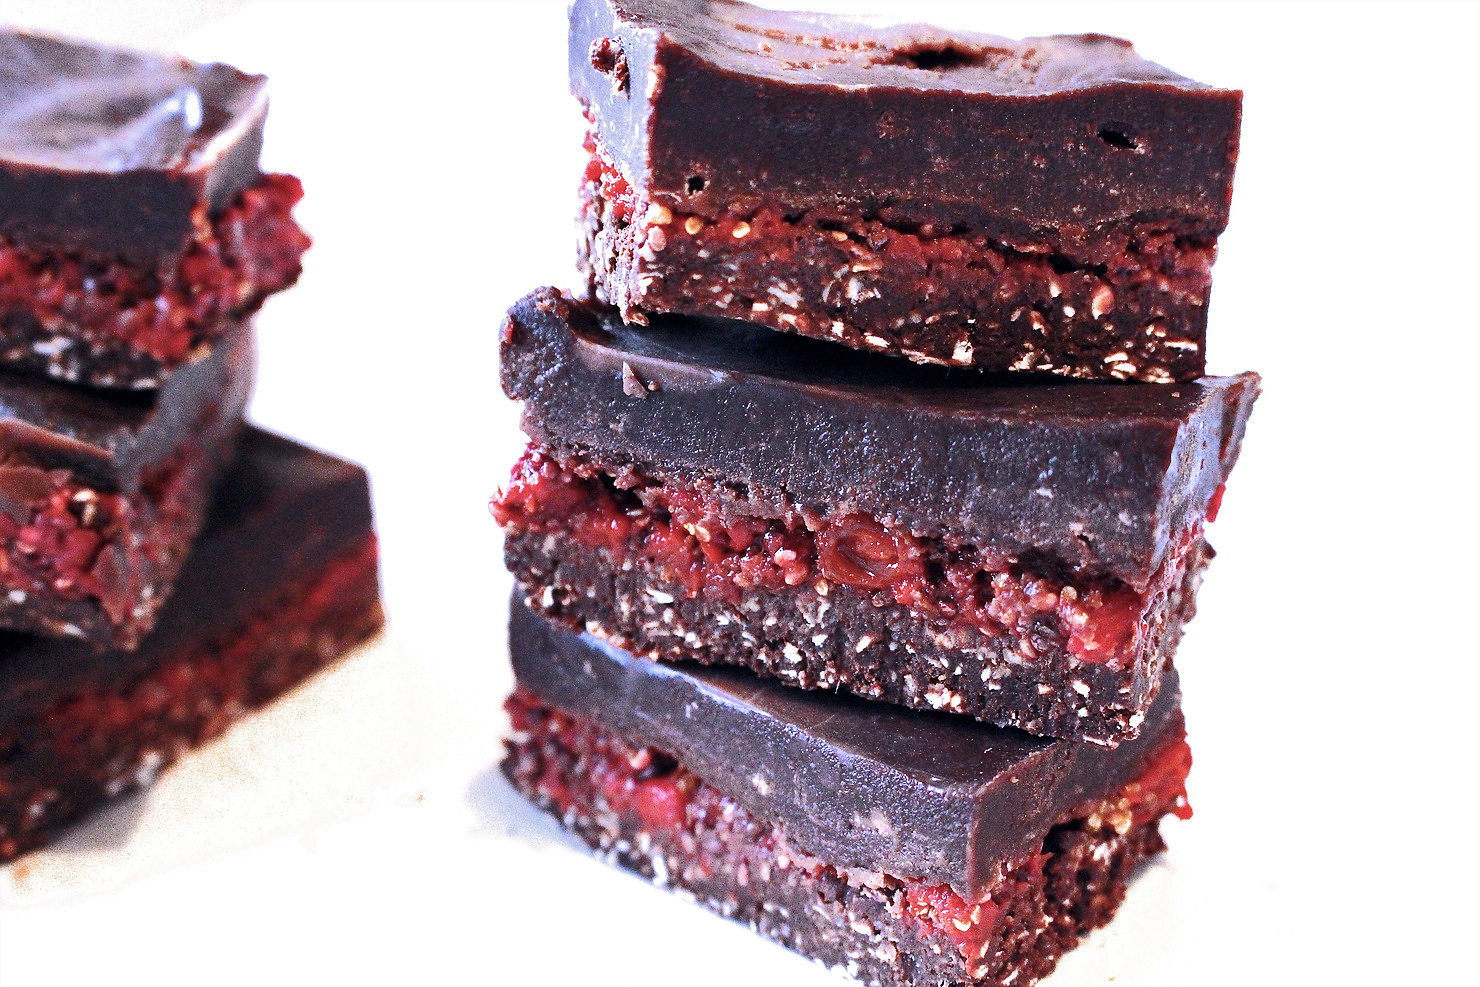
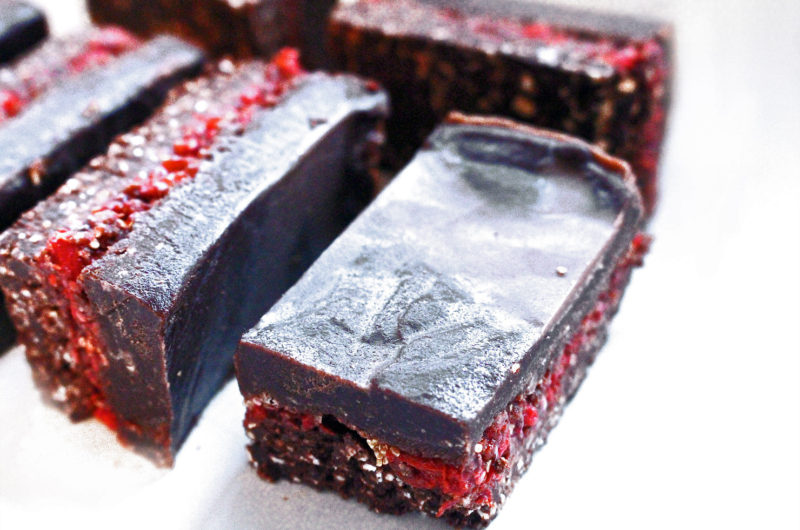
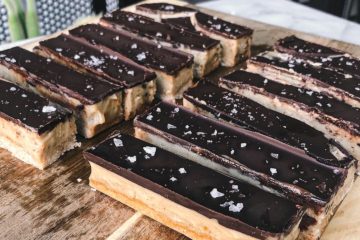
This No Bake Chocolate Berry Slice is everything you’d want from a vegan chocolate treat. This slice has a biscuit base, juicy berry middle and chewy chocolate top. And reminds me so much of a cherry ripe. If you were to replace the raspberries with actual cherries and a bit of coconut then it would be on par with this popular Cadbury chocolate bar.
If anyone does this please report back, or I MIGHT just have try it myself and post another recipe.

Things to Note
- If you’re completely grain free try 1/2 cup walnuts to replace the oats and maple syrup to replace the brown rice syrup.
- A food processor is required for the mixing of chocolate. Because we’re using cacao butter, you’ll want to fully emulsify this into the other ingredients. Otherwise it would separate.
This Slice is
- Vegan
- 100% raw option (replacing oats with nuts)
- No Bake
- Gluten Free
- Nut Free
- Refined Sugar Free
- Soy Free
- Dairy free
- Grain free option
Love Chocolate? Try out these other fan favorite chocolate recipes.
- Nuts Over Chocolate Bars
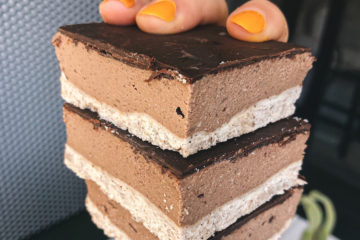
- Raw Vegan Mini Cheesecakes
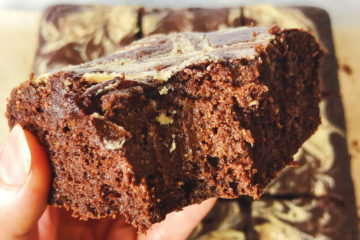
- Flourless Brownie Mousse Cake
- Raw Vegan Chocolate Mousse
- Chocolate Cauliflower Ice-cream Bars
No Bake Chocolate Berry Slice
Course: DessertCuisine: AmericanDifficulty: Medium8
servings40
minutes50
minutesThis No Bake Chocolate Berry Slice made with nourishing vegan and gluten free ingredients, will take you straight back to your childhood.
Ingredients
- Base
3/4 cup gluten free oats
5 medjool dates
1/4 cup cacao powder
1 tbsp coconut oil, melted
2 tbsp coconut water
- Berry Center
1/2 cup fresh raspberries
1/3 cup goji berries
5 tbsp coconut water
2 tbsp chia seeds
- Chocolate
1/2 cup cacao butter, grated
1/3 cup brown rice syrup
1/4 cup cacao powder
1 pinch pink sea salt
Directions
- Blitz all your berry center ingredients in a food processor until you achieve a smooth consistency
- Transfer to a small jar and place in the fridge for 30 mins while your prepare the rest of the slice
- Blitz all the ingredients for the base in your food processor until the ingredients form a sticky consistency. When you press down on the mixture it should bind together. If the mixture is too dry or crumbly add a little more coconut water
- Transfer base mixture to a loaf tin lined with parchment paper. If you don’t have a loaf tin, you can also use an 8×6 tupperware container
- Firmly press mixture down ensuring its evenly distributed.
- Grab your chilled berry jam from the fridge. Pour over top of the base mixture and spread evenly, return to the fridge while you prepare your chocolate layer
- Gently melt down your cacao butter by placing in a heat proof bowl over a pot of boiling water. Stir the cacao butter until it turns into liquid and quickly remove bowl from the heat.
- Time is of the essence here. Place al your chocolate ingredients into a food processor and process until it’s all mixed through.
- Remove your slice tin from the fridge, pour over the chocolate mixture ensuring you have a nice even layer. Place in the freezer for 20 minutes to allow the chocolate to set .
- Once the chocolate has solidified , remove your slice from the freezer and carefully remove from the tin.
- Discard the parchment paper, place onto a chopping board and with a hot knife, cut into 8 small slices.
Notes
- Store any leftovers in a Tupperware in the fridge


