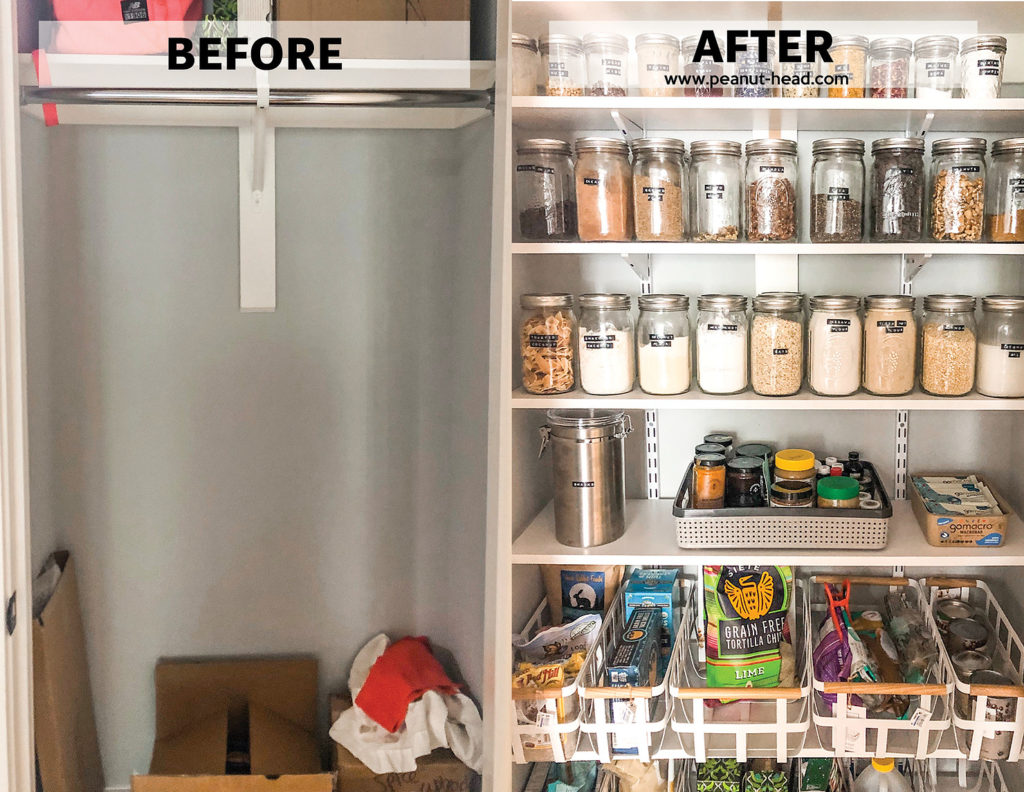
We recently moved apartments and the first order of business was converting my coat closet into a pantry.
Why you ask? Because for some reason, apartments here in Los Angeles don’t provide nearly enough cupboard space in the kitchen to store dry goods. What is this? A kitchen for ants? (Name that quote 😋)
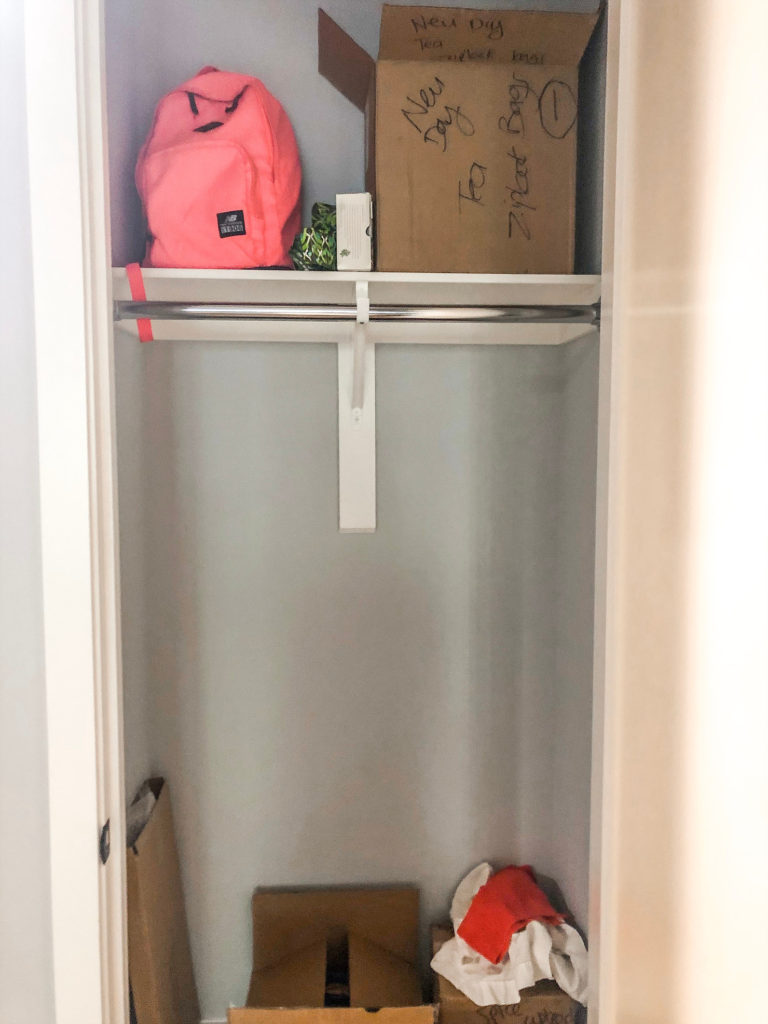
Jokes aside, I had to take matters into my own hands and get crafty. There was a coat closet just to the right of the kitchen that I knew would provide ample space but also fulfill a long standing vision of mine to have a pantry that was both aesthetically pleasing and functional.
No more pulling out 10 jars of sticky honey to find something hiding in the back.
No more wondering whether that random jar of white powder was baking soda, tapioca flour or…. 😏
So with a bee in my bonnet I made it the first call of duty, to convert this coat closet into the pantry of my dreams.


Here’s what I did, step by step.
1. Made a Pinterest board with inspo.
I’m a visual person and love to get inspiration from other peoples projects, this helps give me ideas for my own, I created a Pinterest board called ‘New Home Vibes’ where I pinned various ideas for our new apartment, including obviously, pantries.
2. Determine what I want to display and where.
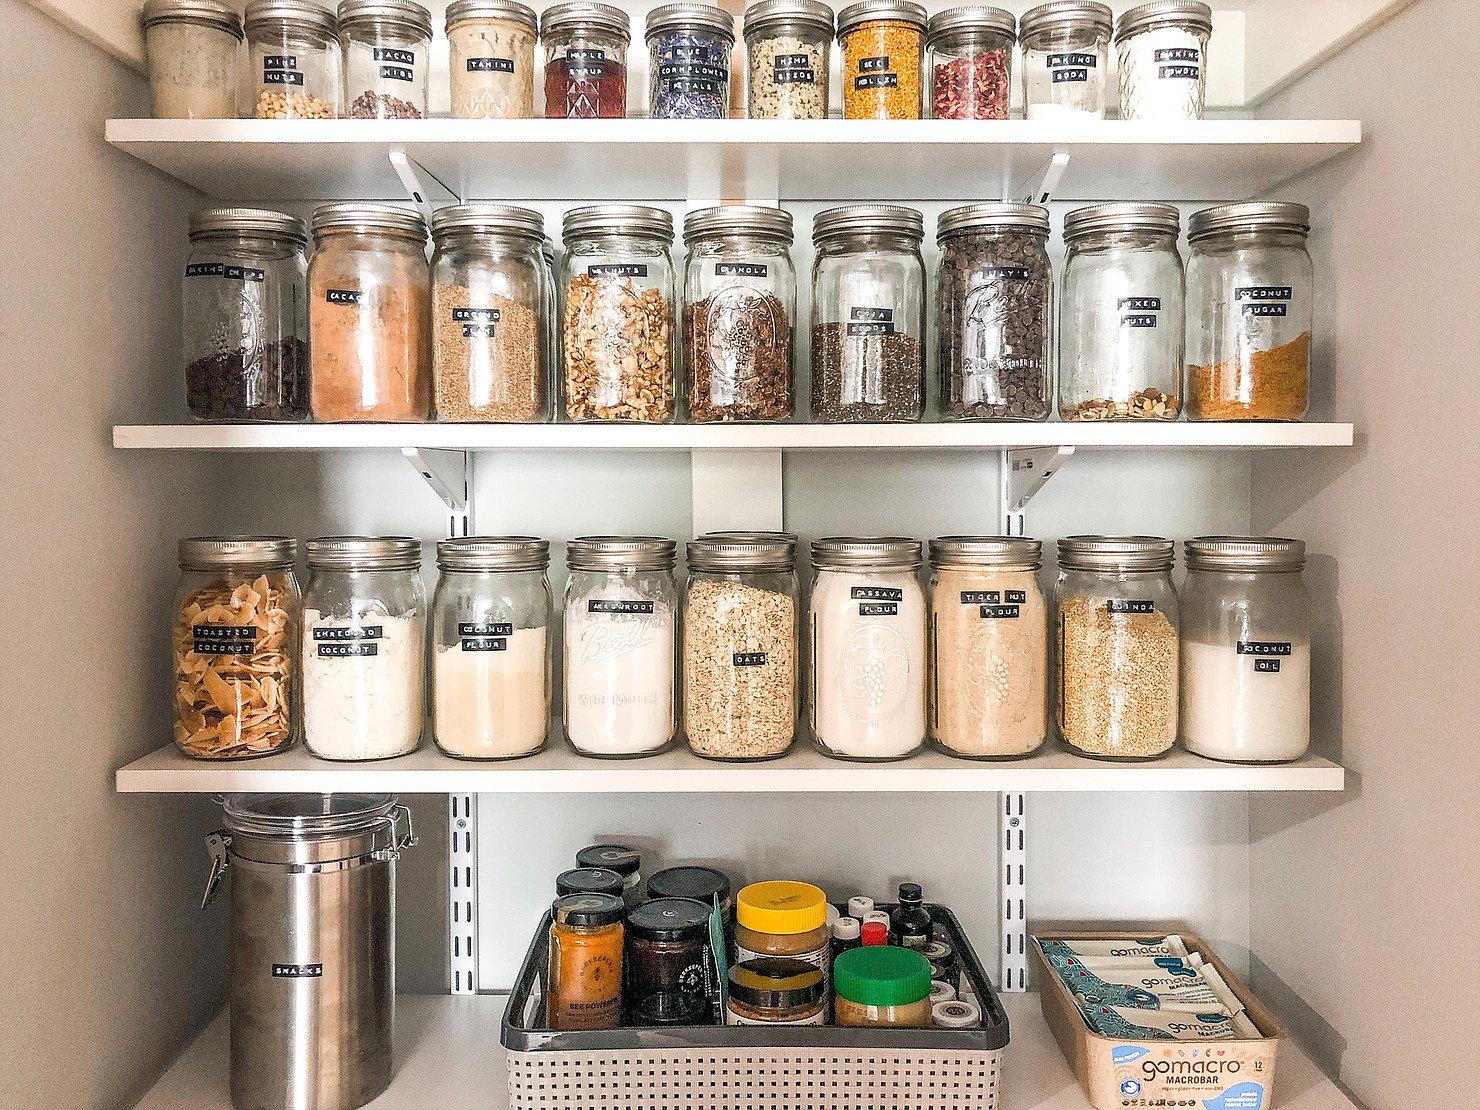
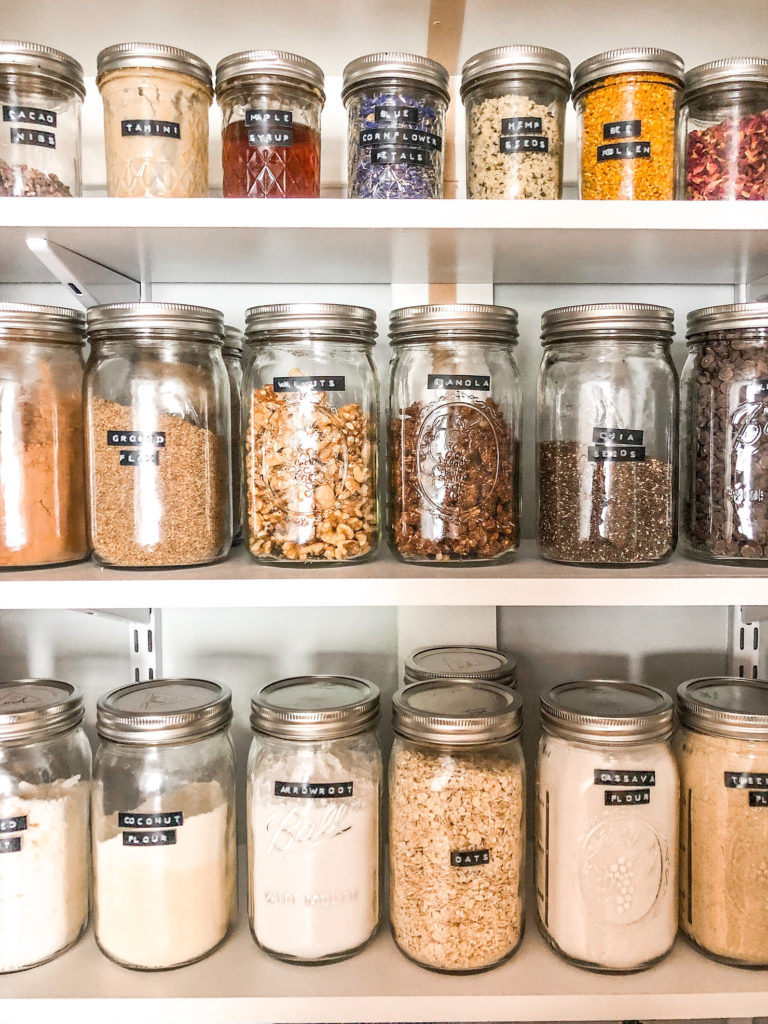
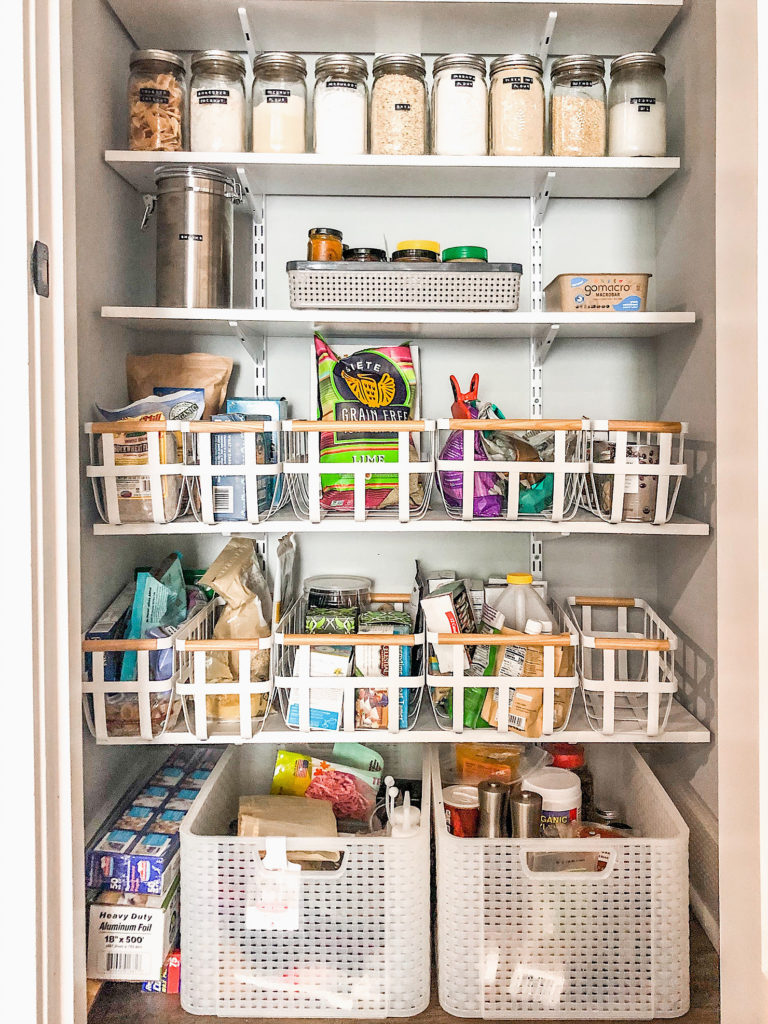
We have accumulated ALOT of ball jars over time and I have always had this vision of putting them to use by labelling and storing all our dry goods in them. I decided to make 1 top shelf for the smaller ball jars and the next 2 shelves for the large balls jars. Then display all remaining items that couldn’t be put into jars on the remaining 2 shelves, while still allowing enough room at the bottom for bins to store baking equipment and bulk goods.
3. Measure, Measure, Measure
This is such an important step and one that should be taken with great care, cos once the shelves are up that’s it. I measured the height of each of the jars I was displaying to ensure there was enough room between each shelf then worked my way down the wall, counting how many shelves I would need in totality. I then measured the width of the closet so that when I went to Home Depot I knew what length each shelf needed to be.
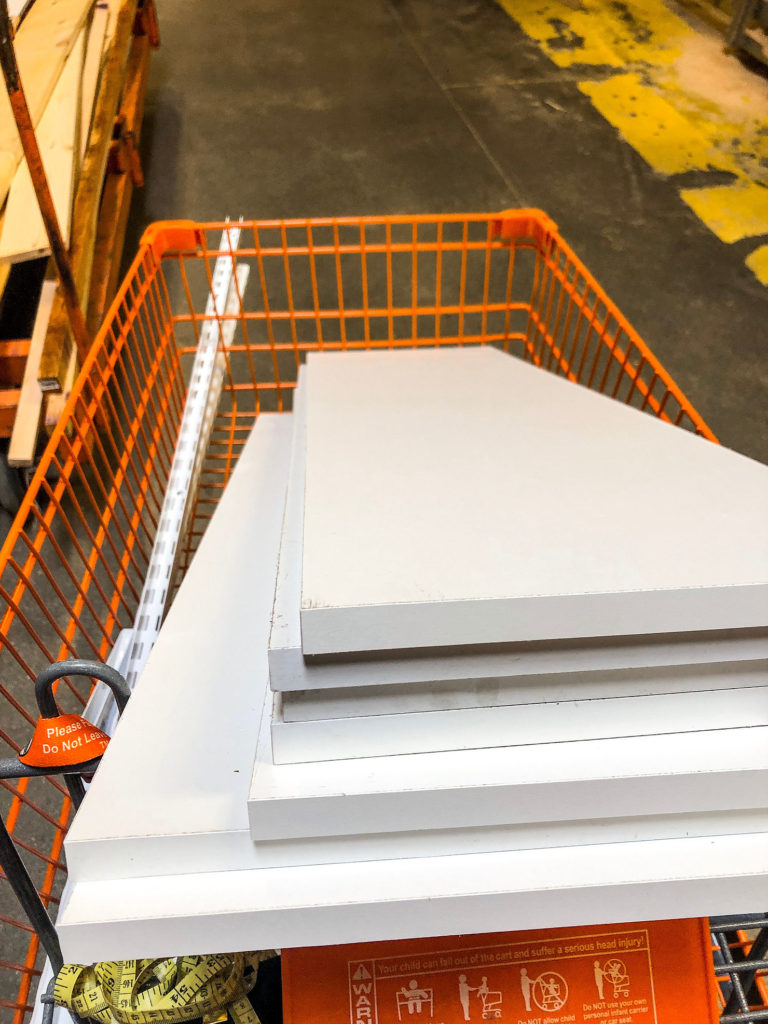
4. Home Depot is the one stop shop
I’m not a Home Depot shopper, I think the only time I had been in prior to this was to look at plants, and even then I didn’t buy anything. It is a HUGE store, but honestly should have everything you need. There was an aisle with all the brackets and shelving in one section. It took a lot of math to figure out what exactly would fit, and what I would need. Basically you need 2 long metal shelf tracks to run vertical down the wall. Each shelf requires 2 brackets that insert into the track at the desired height you’re require. Then the shelf sits onto of these.
What I ended up with, from top to bottom was this:
- Top shelf, as per image was already there, we kept this
- 3 x White Wood Laminate Shelves – 8″ wide by 36″ long
- 6 x 6.5 in. White Twin Track Bracket for Wood or Wire Shelving
- 1 x White Wood Laminate Shelves – 10″ wide by 36″ long
- 2 x 9 in. White Twin Track Bracket for Wire Shelving
- 2 x White Wood Laminate Shelves – 12″ wide by 36″ long
- 4 x 11.5 in. White Twin Track Bracket for Wood or Wire Shelving
- 2 x 70 in. White Twin Track Upright for Wood or Wire Shelving I cut this down with a metal cutter, if there was a 60 in. one I would have purchased that.
5. Remove any unnecessary hardware from closet
We had a bar that was used to hang clothes, we removed this and anything else that would be in the way. This was simply taken out with a screwdriver.
6. Assemble
First, I attached the tracks, these go vertical down each side of the middle line of your closet. vIf possible, you gotta find the stud so that the screws are drilled into a secure source. If you just have dry wall to work with the track should come with these pieces that you secure inside the hole to keep the screws secure.
Once the tracks were up I referred back to my measurements to ensure the brackets were inserted at the right height and there was enough space between each one to allow for the shelf to be place on top and the appropriate jar/food item could sit on the shelf with enough space above it.
Once the brackets were in, I placed each shelf on top and voila! Shelving is done!
7. Trip to the container store
I know if I’m officially adulting when I spend more money att he container store than anything else this past month. Seriously though, the container store had all that I needed to display what I wanted in may new pantry.
Here’s what I got:
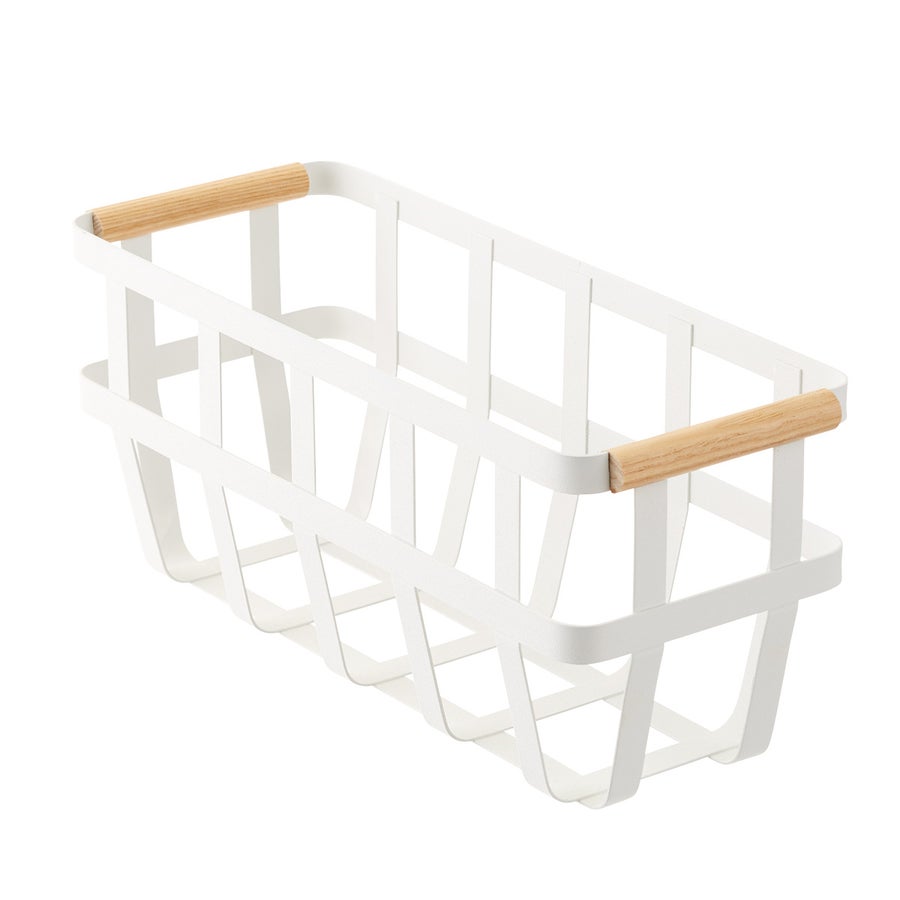
I loved the look of these white baskets so I used them on my bottom shelfs, I bought 2 storage baskets for the floor and my trusty DYMO labeler to label every jar I owned. (My favorite part).


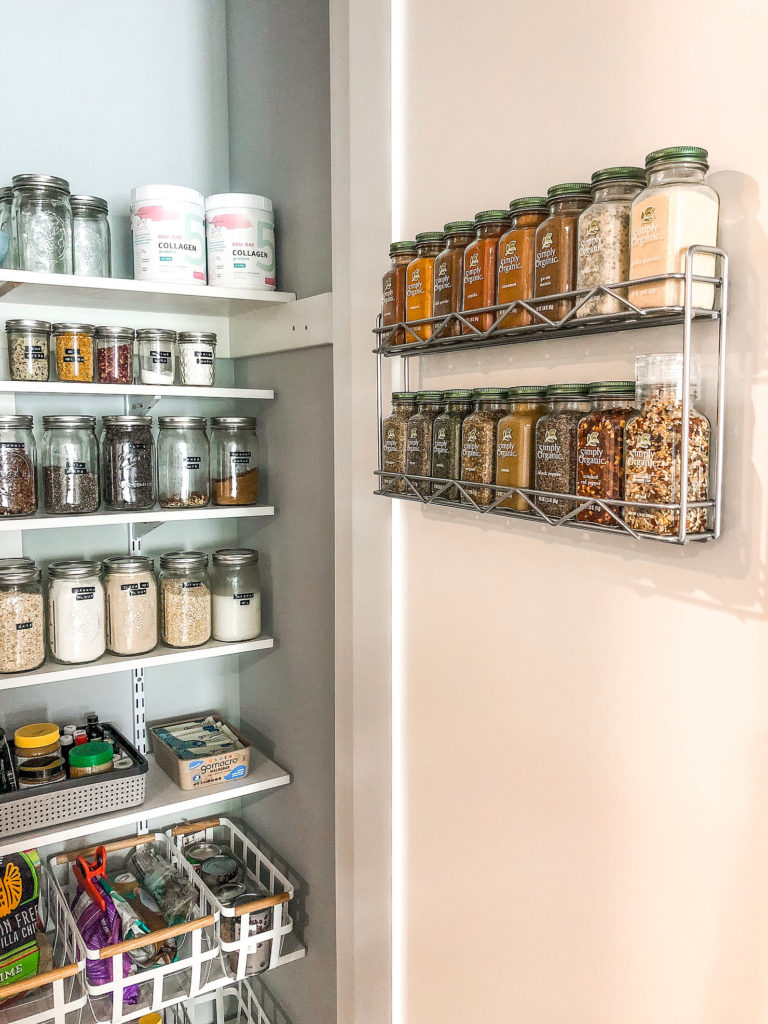
8. Final Touches
I added a spice rack to the inside of the door. This is prime real estate for anything you want to hang (hello aprons), I’ve left enough space underneath to allow for a hook or two to add at a later date, should I need it.